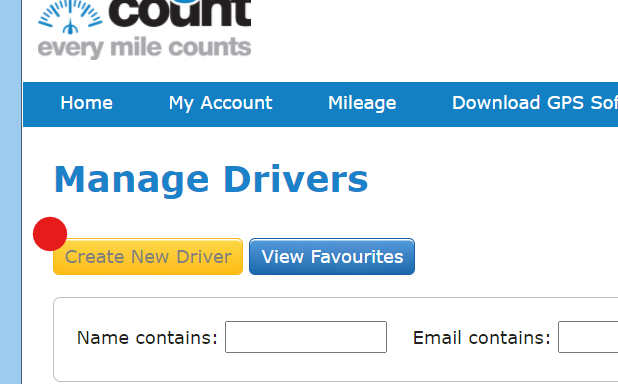
A user with Administrator permissions can create new Drivers. To do this navigate to ‘My Account’ and then ‘Drivers’. Once on the driver screen select ‘Create New Driver’:
Creating New Driver Account
The preferred log in will default to email (as username) and password which is our recommended log in option – this can be changed if preferred.
You will need to enter mandatory fields – email address, password, first name, second name, and fuel payment type. The reimbursement type chosen in the company settings will be pulled through – you can alter this once the account has been created. You can also add salutation, postcode and use the ‘Lookup Postcode’ to add in full address if you wish to include this information in the driver record.

Select ‘Save’ to complete the basic driver record – this will then generate the welcome email containing the user guide with a link to create a password.
More details can be added to the driver record once the basic setup has been completed from the Edit Driver screen. To enable a driver to complete their submission you will need to add in vehicle registration and add an approver.
Assigning a Vehicle
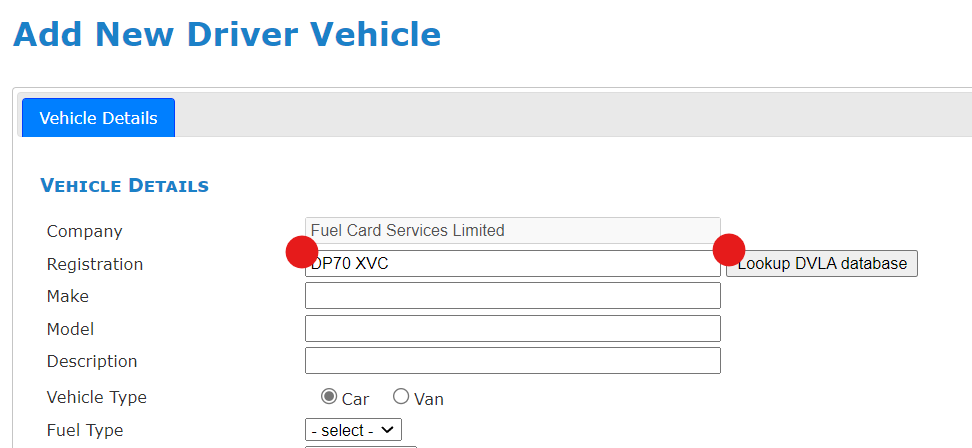
To add vehicle registration select the blue plus sign:

This will take you to a screen where you can pull in all the information from the DVLA database which may affect repayment rates. Enter the registration and select ‘Lookup DVLA database’ to populate all the vehicle information:
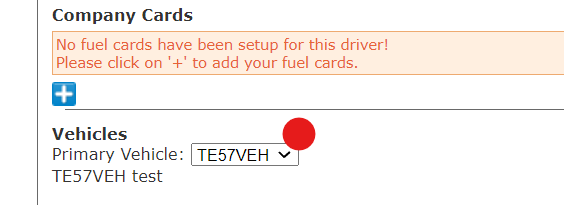
Once all the fields are populated – select Save to assign the vehicle to the driver record. If there are no vehicles on the account, the vehicle will be added as the primary vehicle. When assigning additional vehicles, they will be added as a secondary vehicle, and should you wish for them to be the primary vehicle you need to change this on the driver record screen. Select the vehicle from the drop-down box and select Save at the bottom of the screen.
Assigning a Fuel Card
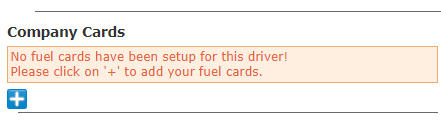
You will need integrated fuel cards to complete this step. Once integrated providing the name embossed on the card is the same as the driver name on the record your card will automatically be linked to the driver account. If you need to link a fuel card manually please navigate to the 'Company Cards' section in the driver record and click the plus sign.
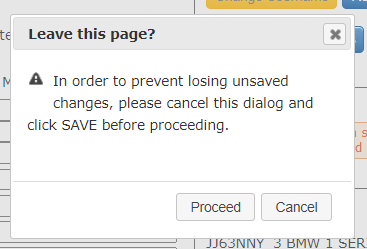
Make sure you have saved any changes you have made to the driver record before proceeding with this step. If you have not click cancel here and save the changes at the bottom of the screen by clicking 'Save' then click the plus sign again.
After clicking proceed you will be taken to a screen where you can enter search terms which link to the fuel card information - either fuel card number or embossing details. Once you have found the card you wish to use click on the card in the list and then select 'Add Card'
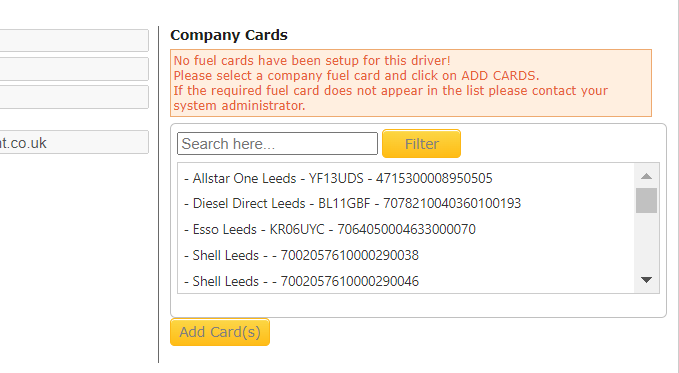
The card will now be assigned to the driver - you can add more cards or choose to remove any added in error.

Navigate back to the driver record to continue editing by selecting the 'Back' button in the bottom left hand corner. You will now see the fuel card(/s) display underneath the 'Company Card' section.

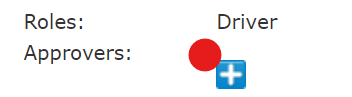
Assigning an Approver
To add an approver to the driver, the approver first needs to be set up in the Approver screen see Adding an approver. From the driver screen navigate to the ‘Approvers’ section and select the blue plus sign to add new approver:
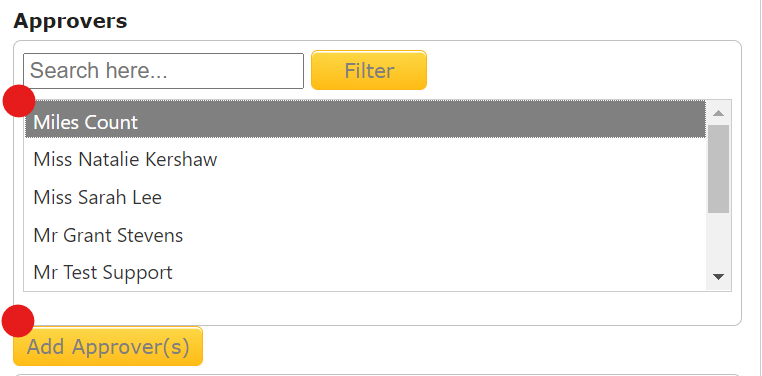
Select an approver from the list and select ‘Add Approver’ then select back to go back to the driver screen:
Was this article helpful?
That’s Great!
Thank you for your feedback
Sorry! We couldn't be helpful
Thank you for your feedback
Feedback sent
We appreciate your effort and will try to fix the article